The endpoint that will receive data from the Verkada webhook is required to have the following secure configuration:
- HTTPS endpoint with SSL certificate signed by Trusted CAs (list)
- Handle concurrent requests
- Responds in less than 2000 ms
- Responds with JSON
- HTTP Response codes: 200 for success, 4XX for errors/invalid requests, 500 to try request later
- Accepts and responds with JSON
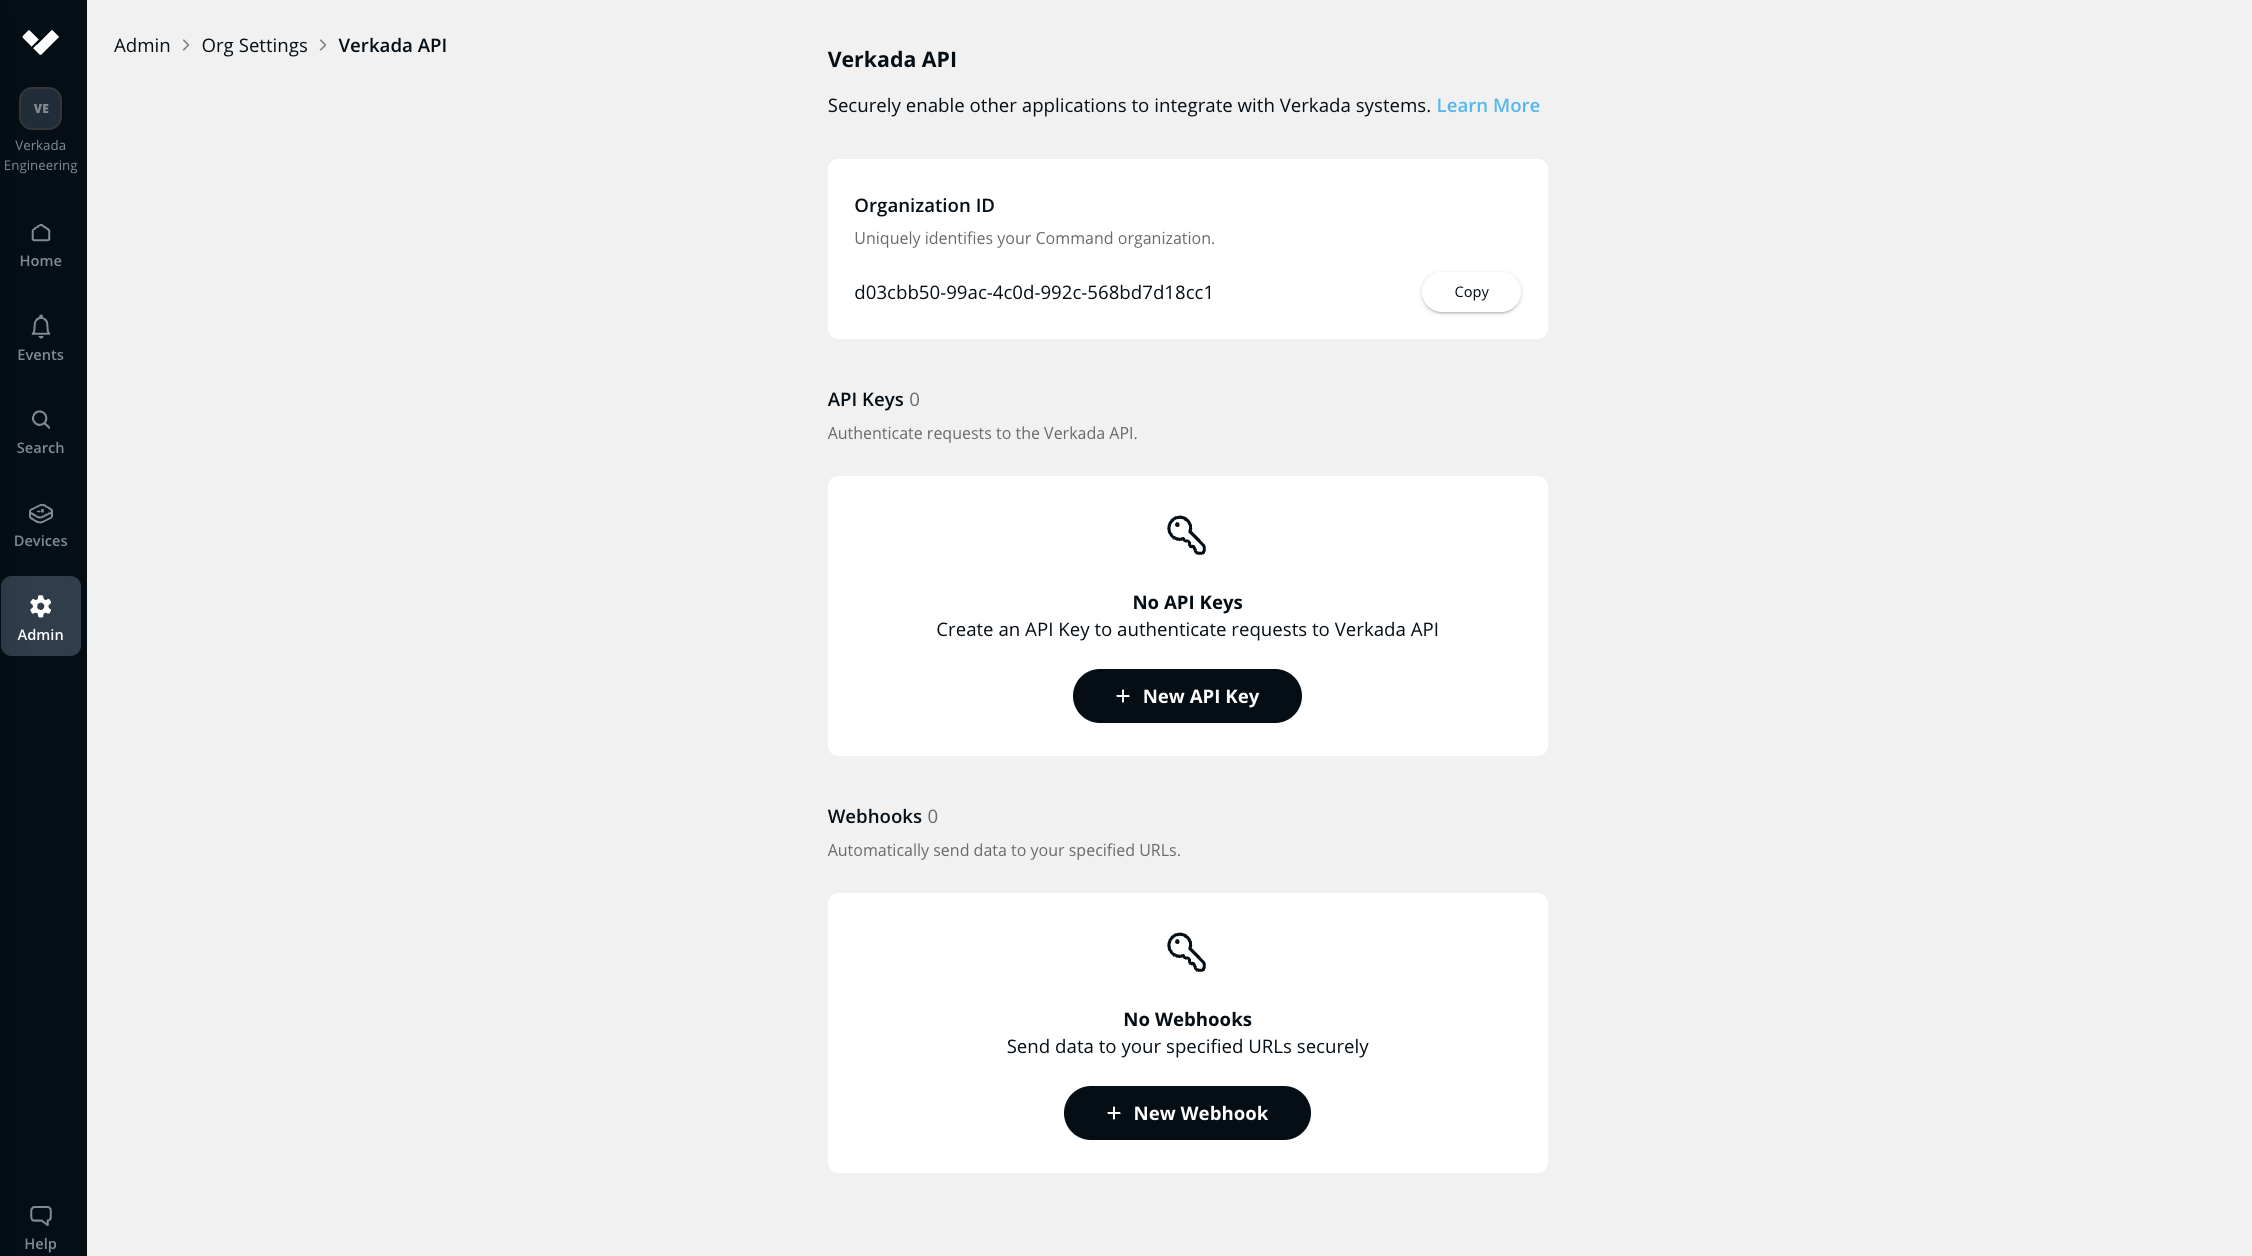
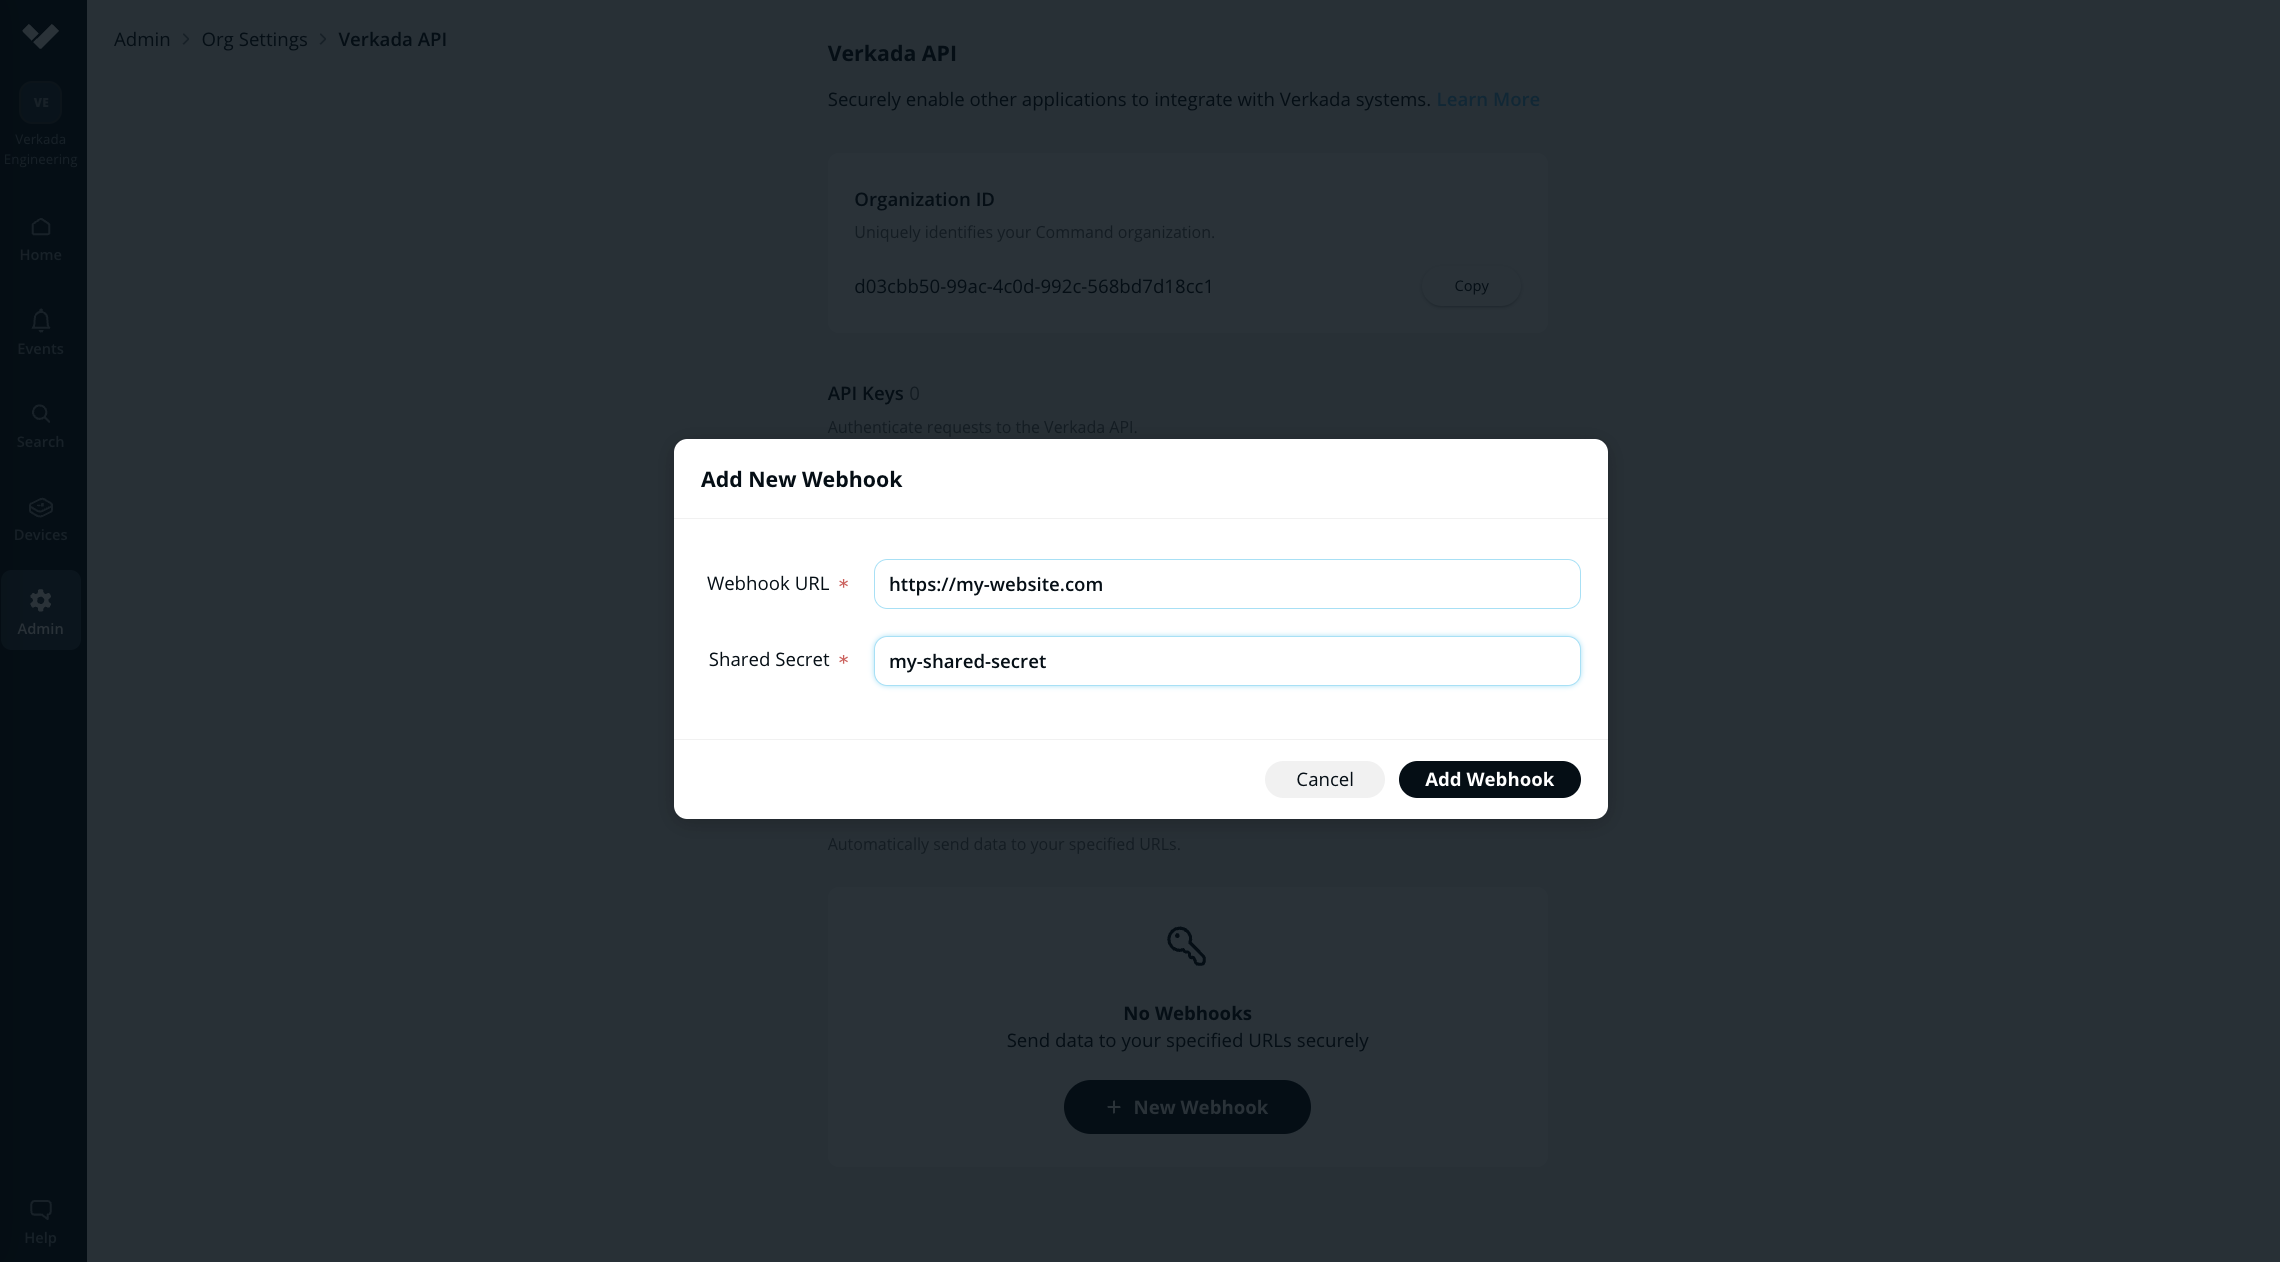
Your webhook can be configured in Organization Settings. You can add a new webhook to Command if you are an organization admin. Navigate to the Verkada API tab under Organization Settings.

Add the URL where the Verkada Webhook should send the data, and create a shared secret to authenticate the data sent from the Verkada Webhook.

Verkada includes a timestamp in the Verkada-Signature header sent to your endpoints. This allows you to verify the events were sent by Verkada and not by a third party (ex: replay attack). This timestamp is verified as part of the signed payload and cannot be changed by a potential attacker without invalidating the signature.
You can set this up in the following way
- Extract timestamp and signatures from header: Split the header on ‘|’ to get a list of 2 tokens. 1st token is timestamp, 2nd is signature.
- Prepare signed_payload string: Signed_payload string is created by concatenating:
- The actual JSON payload (the request body)
- The character |
- The timestamp (as a string)
- Determine expected signature: Compute HMAC with SHA256 hash function. Use shared secret (ask your Org Admin) as the key and signed_payload string as the message.
- Compare the signatures: Compare the signature (or signatures) in the header to the expected signature. For equality match, compute difference between current and received timestamp and check whether this satisfies your tolerance threshold. To protect against timing attacks, use constant-time string comparison to compare the expected signature to each of the received signatures.
